How to make a Potting Bench
A potting bench is an essential for any gardener. This bench is a simple construction with a back panel for hanging all your tools on and a shelf at the bottom for storing pots and materials.
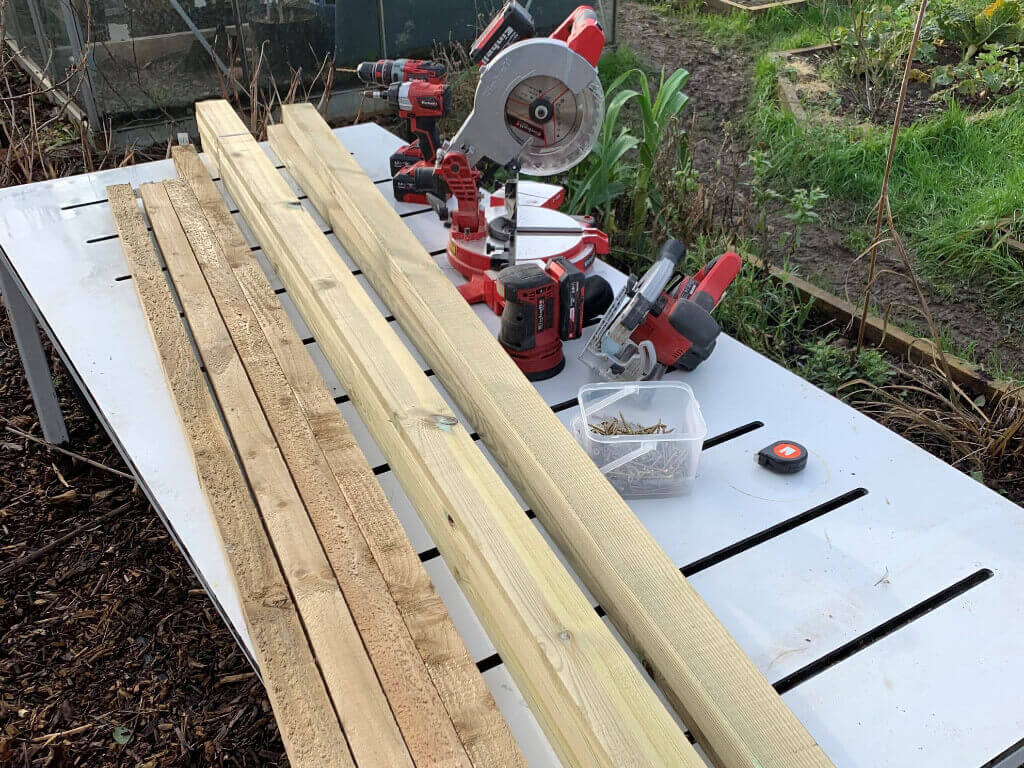
Here’s the materials and the equipment that you will need:
| Material | Tools |
|---|---|
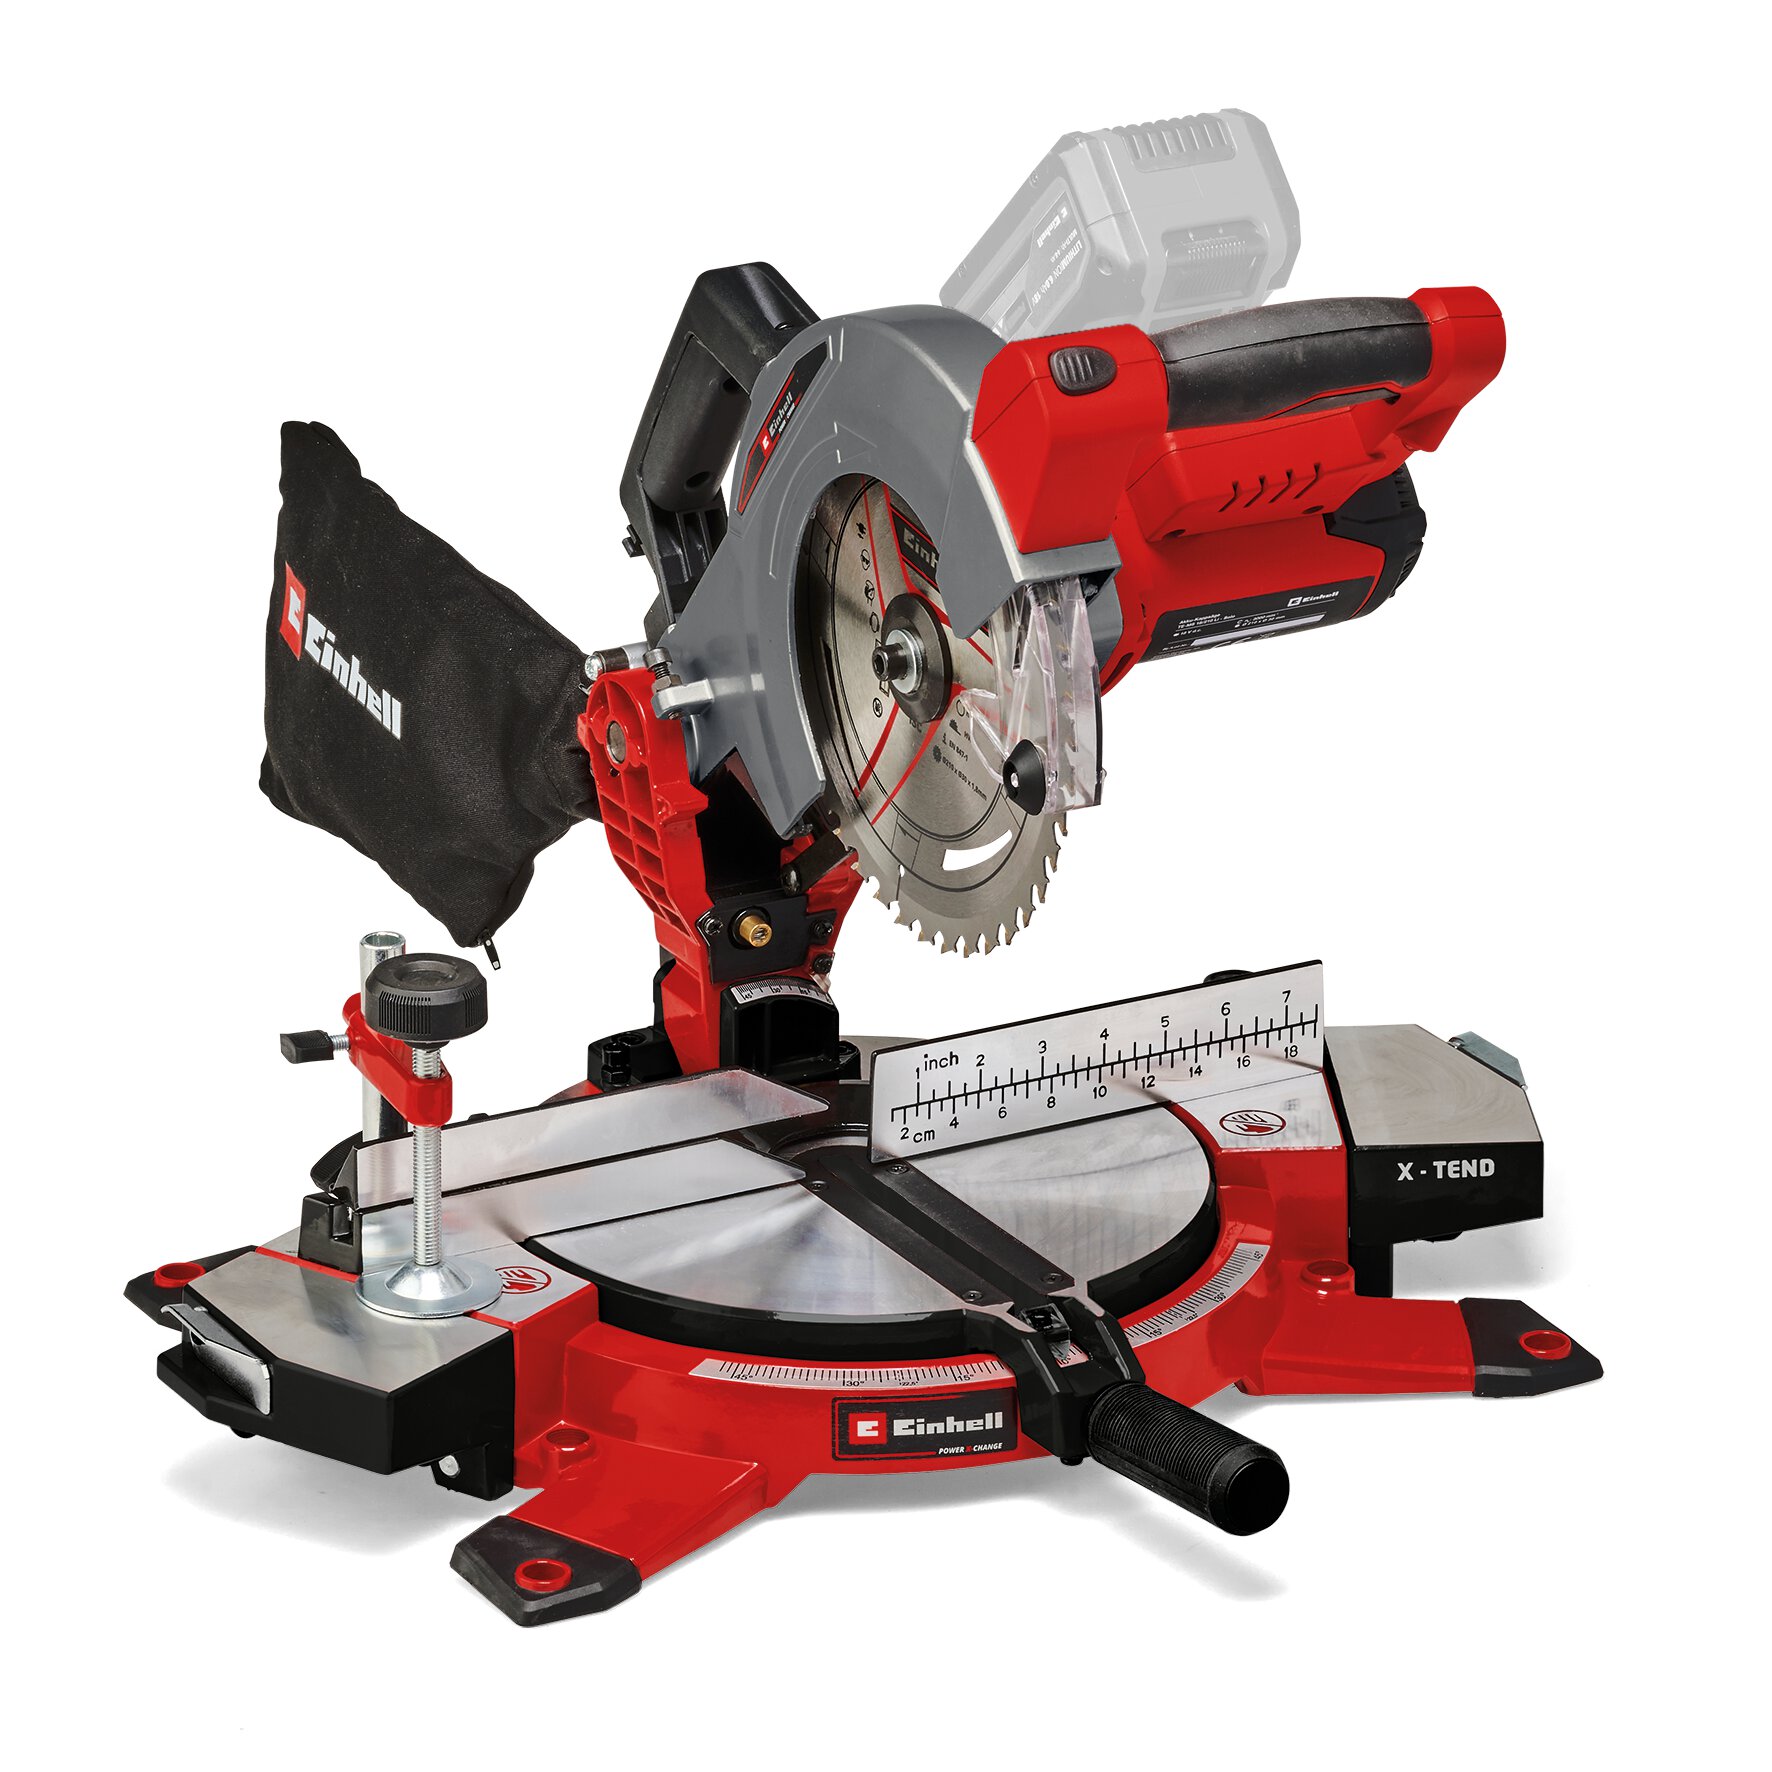
| 60mm screws | Power X-Change TE-MS 18/210 Li - Cordless Mitre Saw |
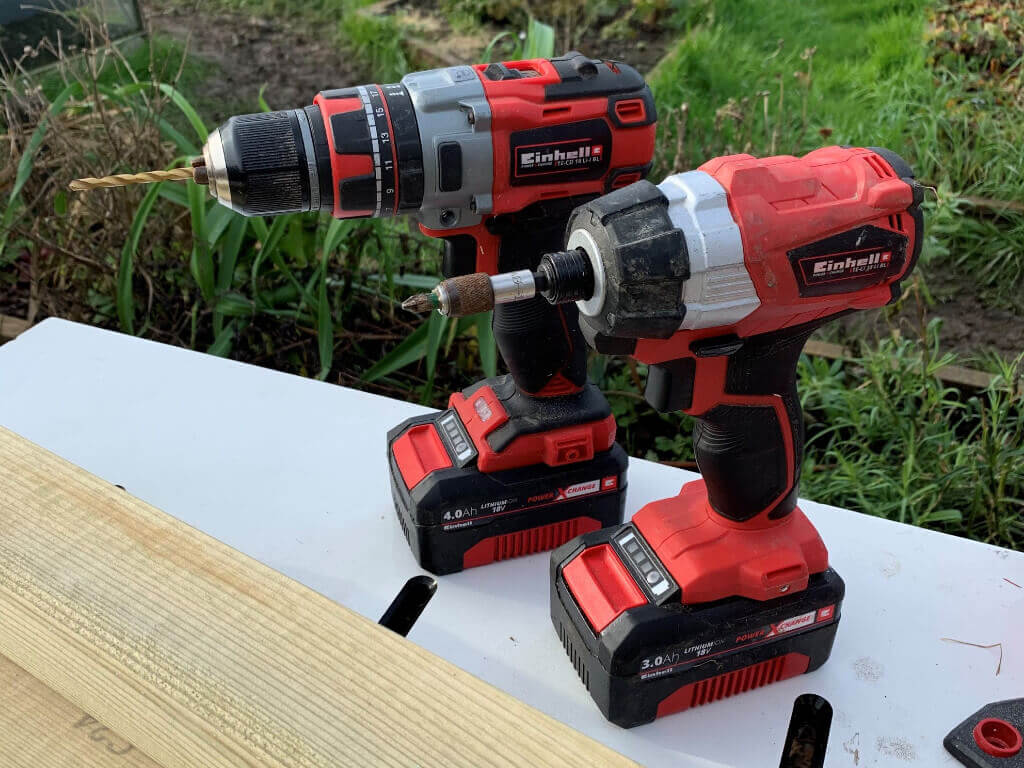
| 30mm screws | Power X-Change TE-CI 18 Li BL solo - Cordless Brushless Impact driver |
| 45x45mm kiln dried wood, 5 lengths of 2.4m will be plenty | Power X-Change TE-CD 18 Li-i BL solo - Cordless Brushless Combi Drill |
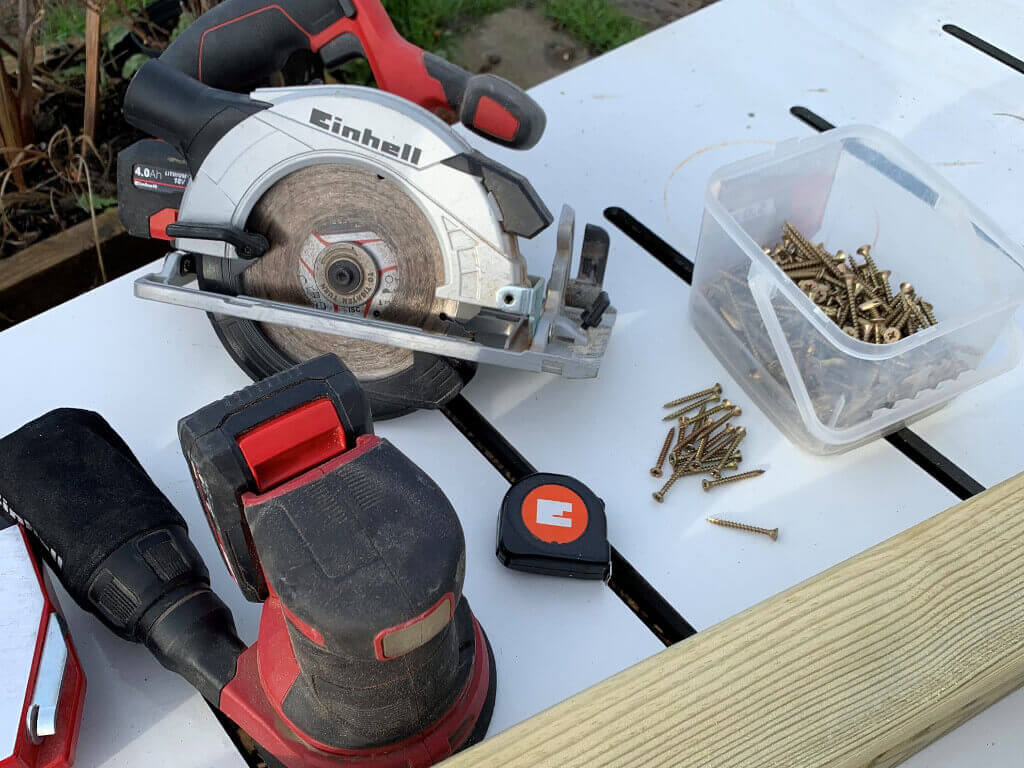
| 45x95mm kiln dried wood, 2 x 2.4m lengths | Power X-Change Cordless TE-CS 18/165 Li-Solo Circular Saw |
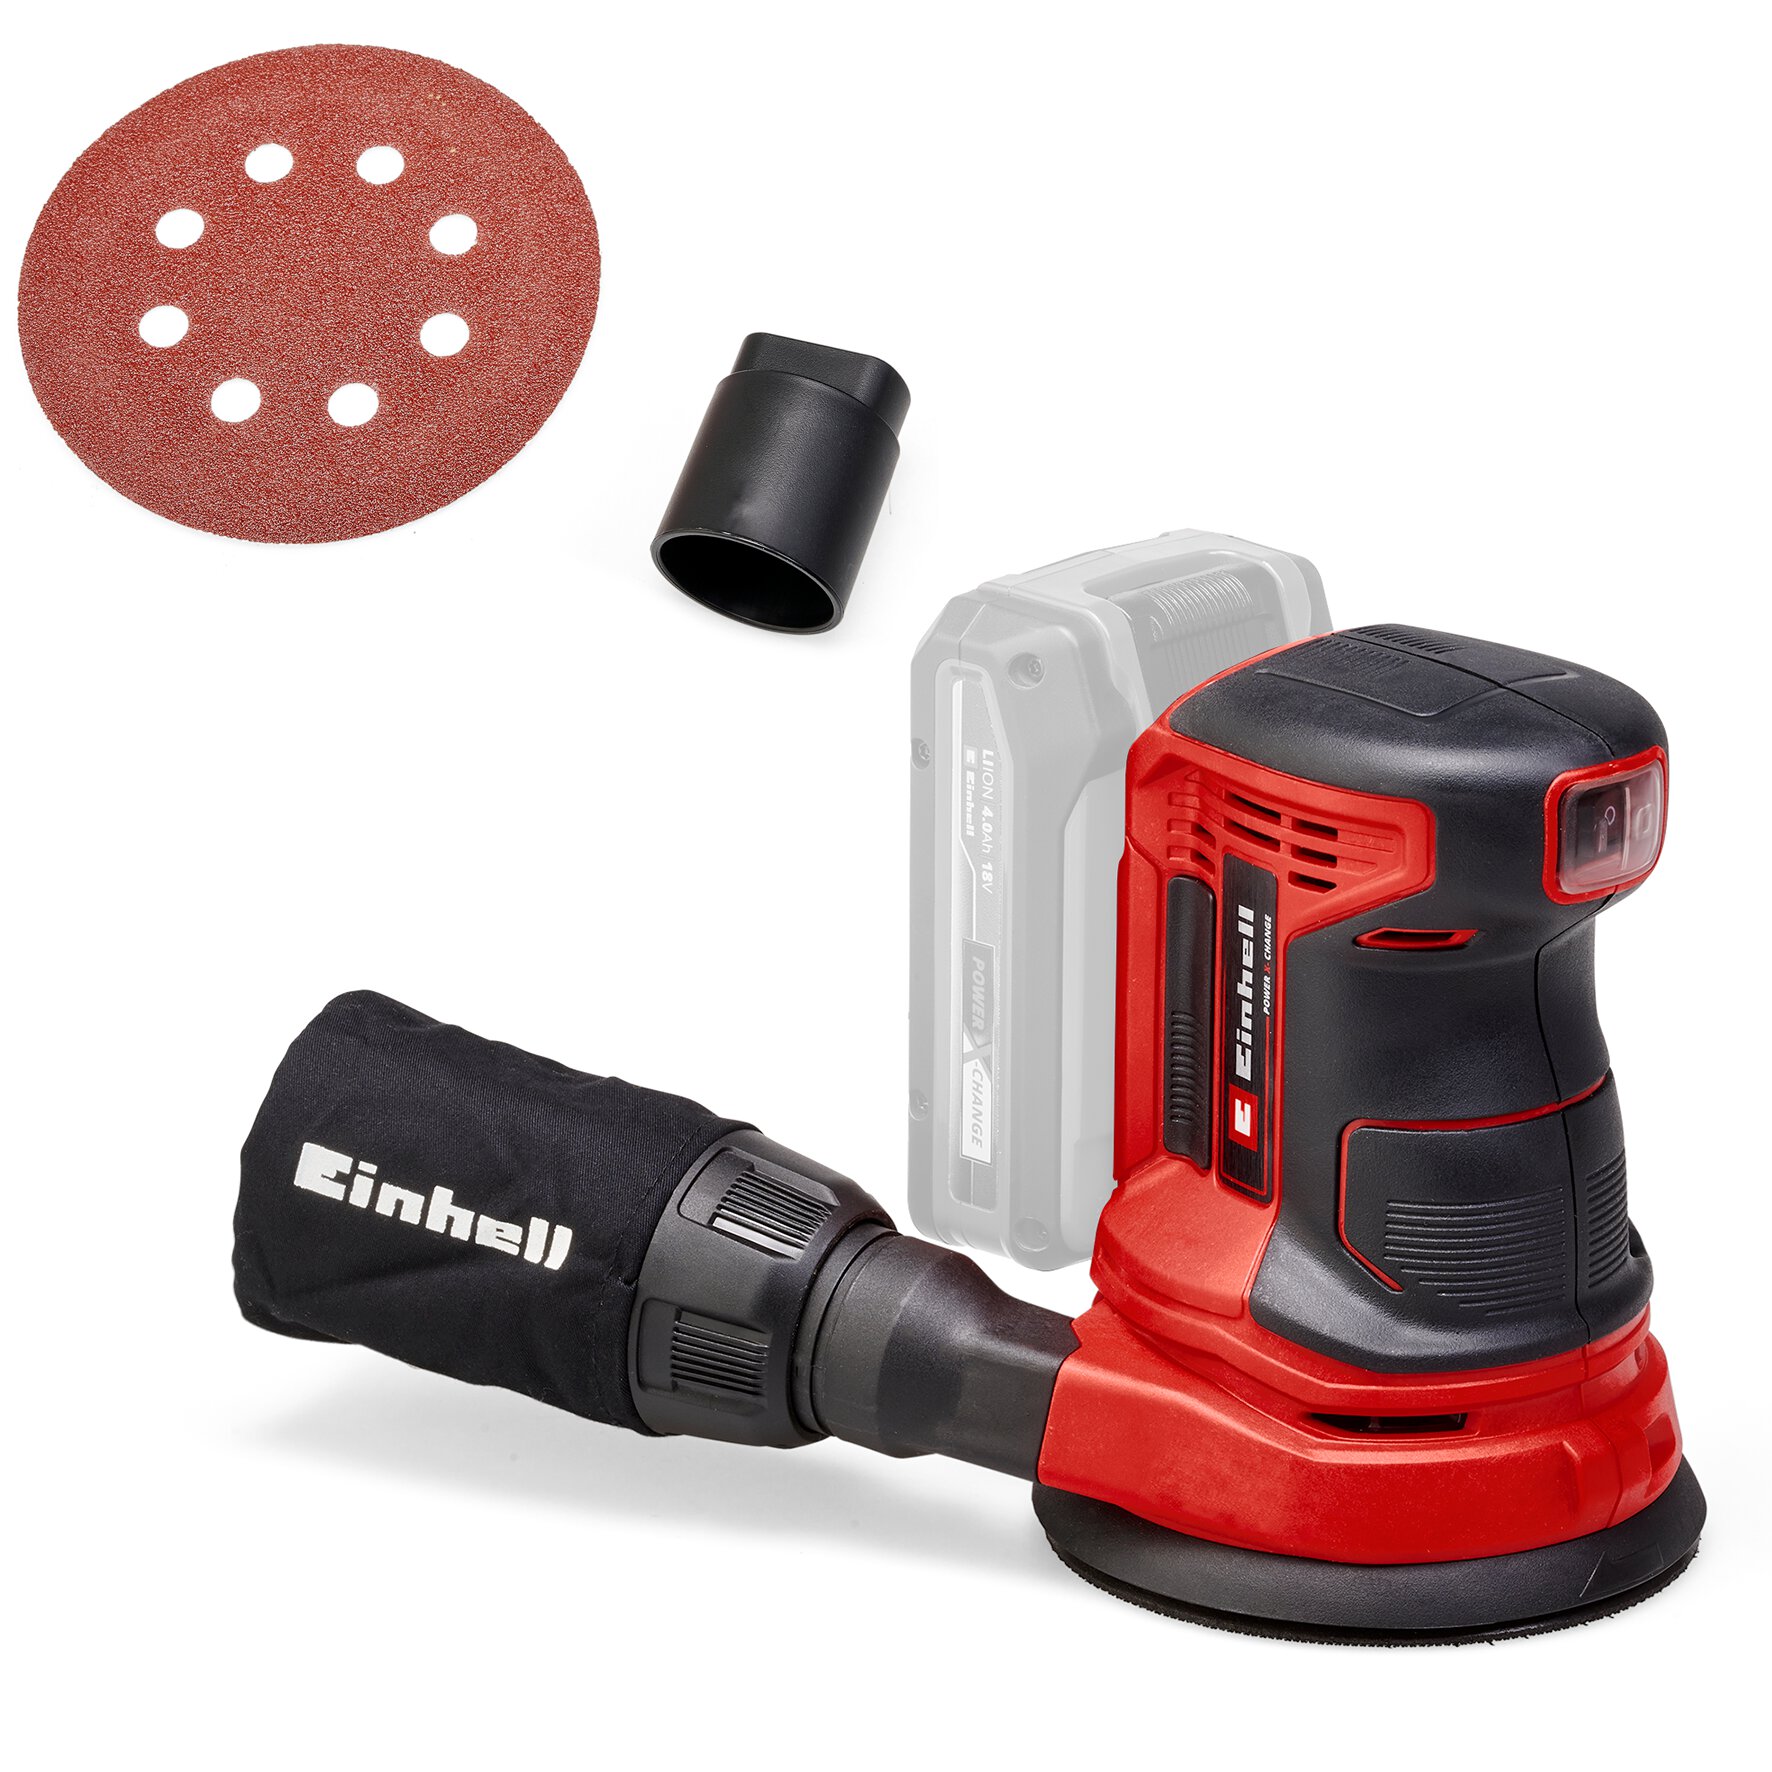
| 22x100mm, 5 x 2.4m lengths – this can be substituted for pallets | Power X-Change Cordless TE-RS 18 Li-Solo Sander |
| 18V 4-6 Ah Multi-Ah PXC Plus battery | |
| Pencil | |
| Tape measure | |
| 5mm Drill Bit | |
| Various sized drill bits |
Step One:
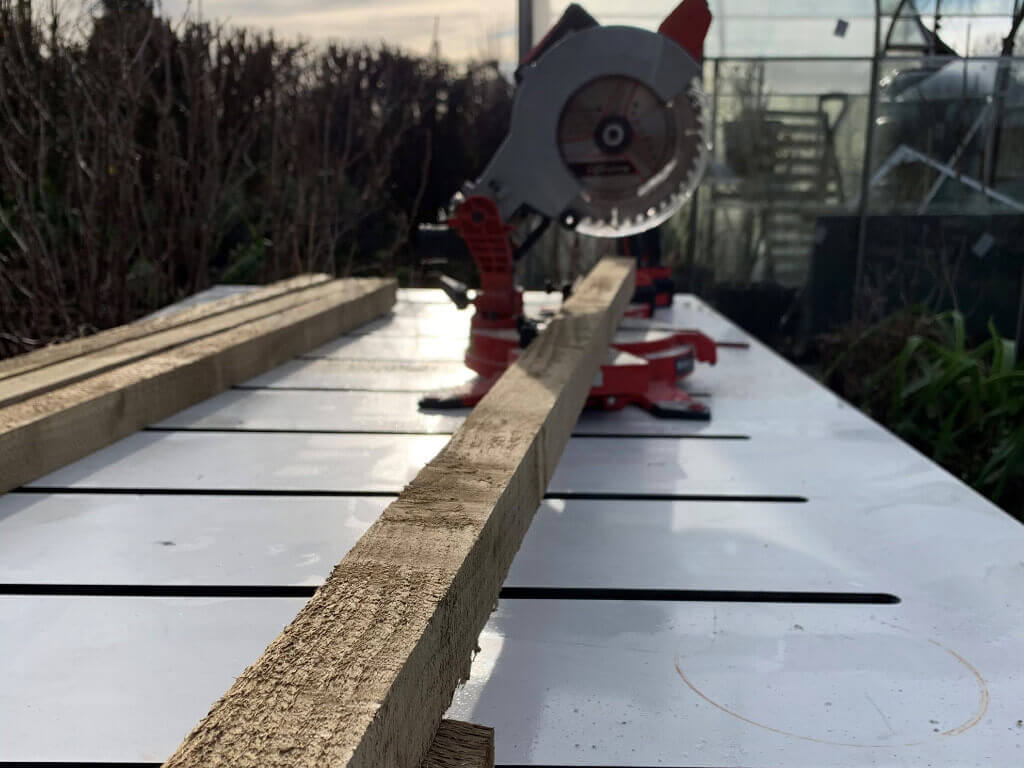
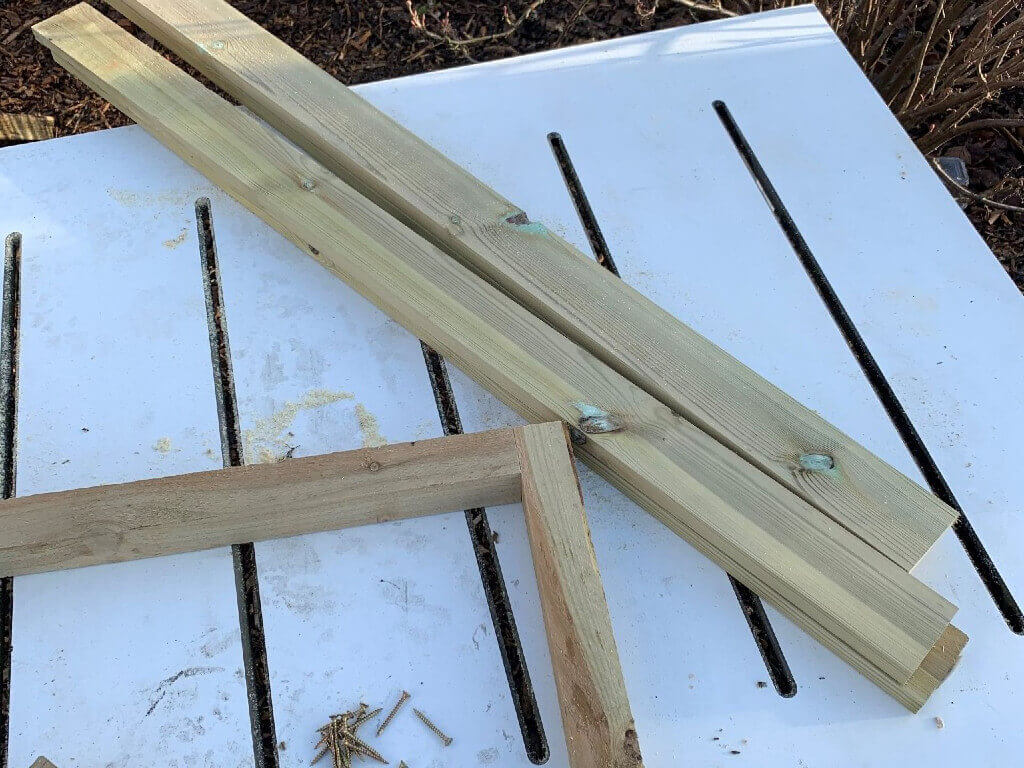
First, we need to make two frames for our table top and shelf. Take your 45x45mm lengths of wood and cut four lengths at 60cm with your mitre saw. Before cutting your lengths, cut off a cm or two with the mitre saw to ensure you have a square cut. Then cut another four lengths at 110cm. This will give you an overall table of 1.2m. To make a bigger or smaller table, adjust the length of the 110cm cut and minus 10cm for the thickness of your end panels.
Step Two:
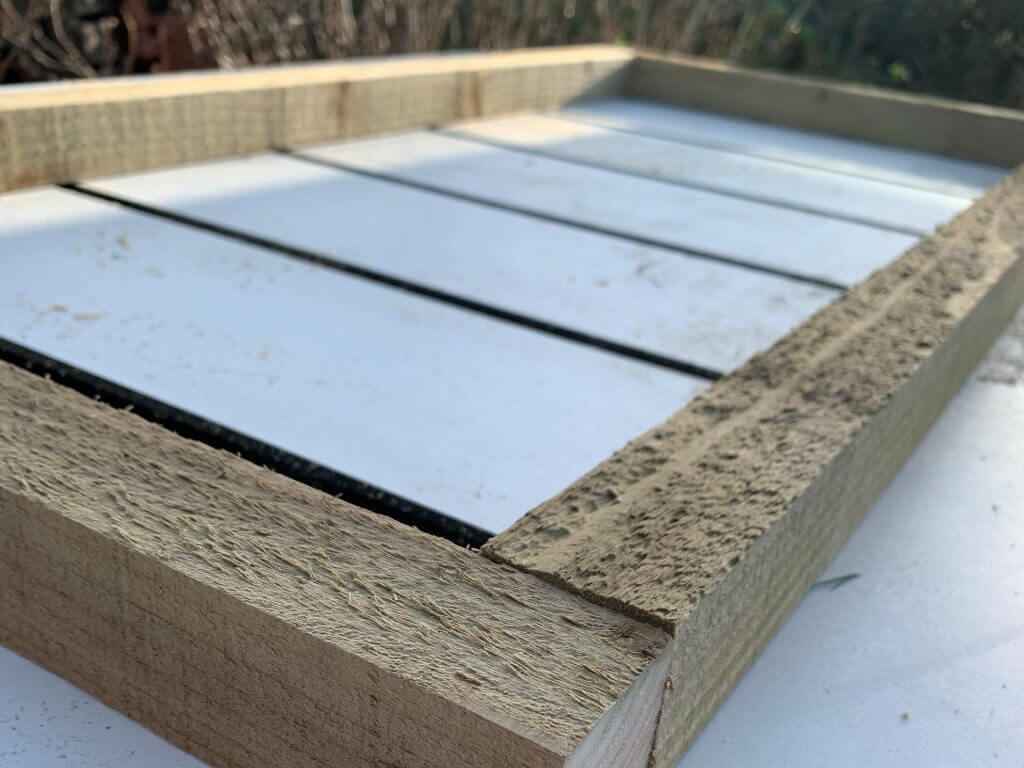
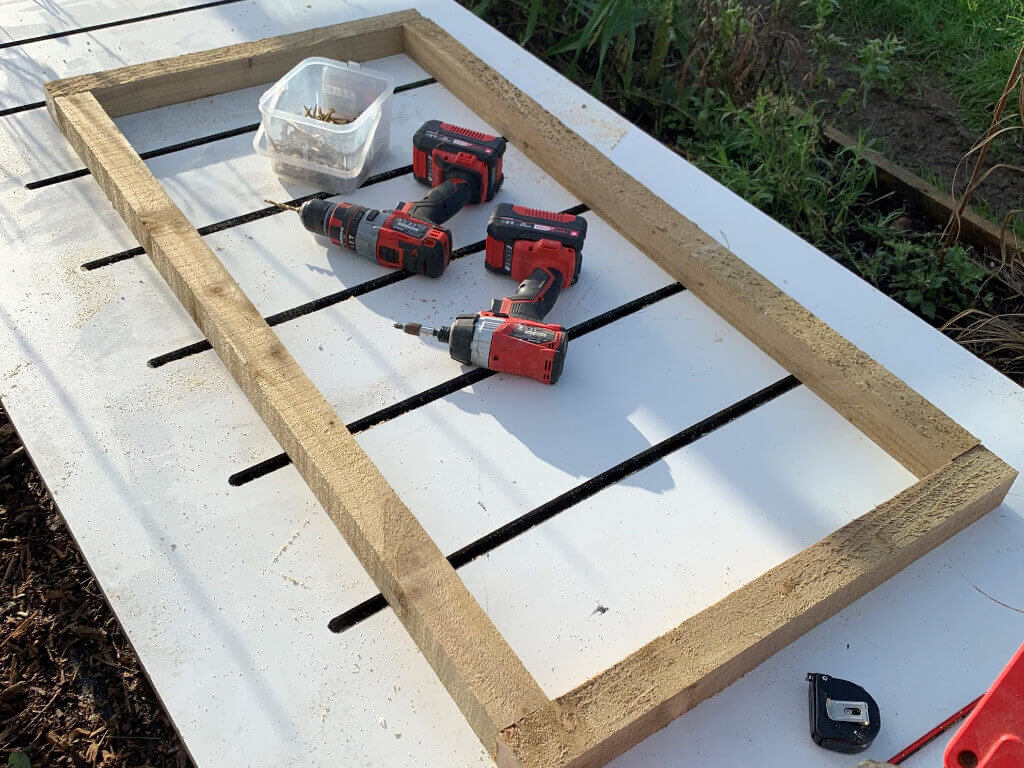
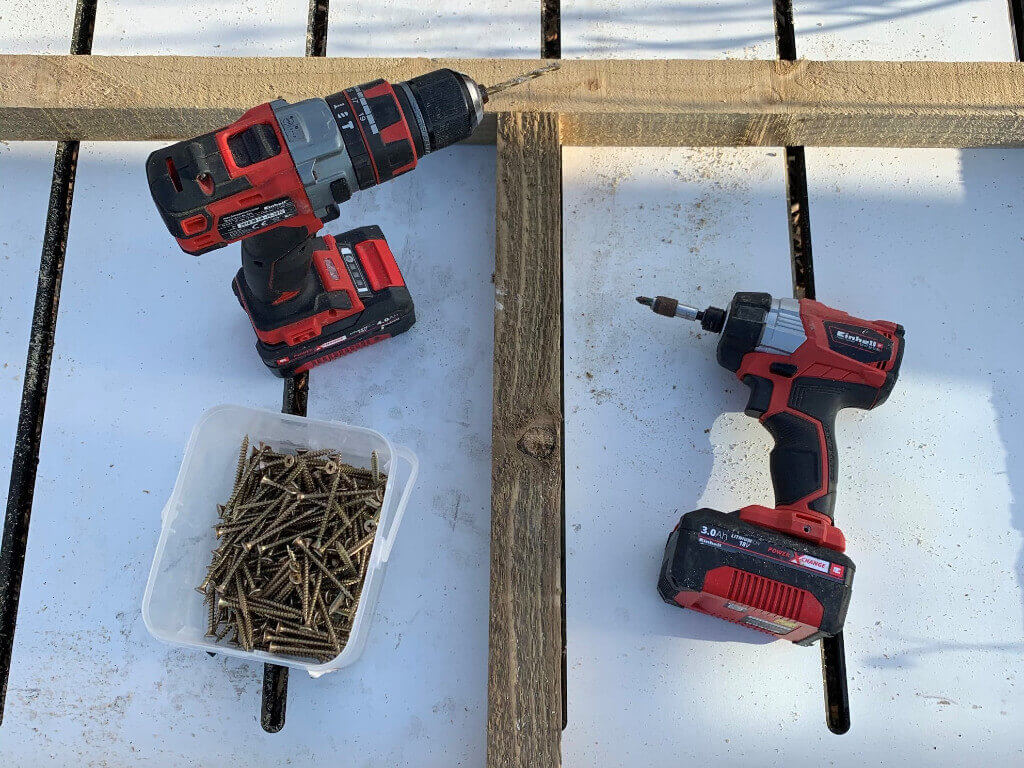
Get your drill, 5mm drill bit and impact driver. Take your 60cm pieces and put a 5mm hole in each corner with the drill. The hole needs to central and 20mm in from each end. Now you can position all your four pieces of one frame flat on a table, with the longer lengths being on the inside. Take your 60mm screws and screw the pieces together.
Step Three:
By using a mitre saw, your frame should be square. To double check, use a tape measure to measure from corner to the opposite corner (diagonal) and take note of the measurement. Do the same on the other diagonal point to point and you should have the same measurement. If it’s not, you can move the panels ever so slightly to get the same dimensions.
Step Four:
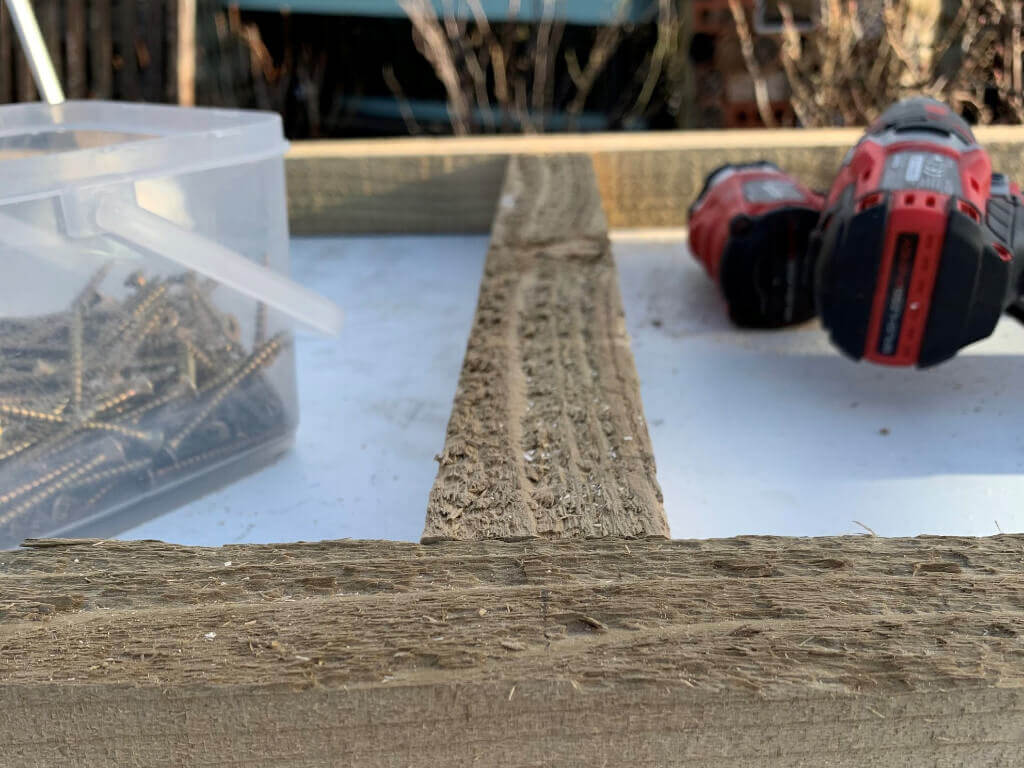
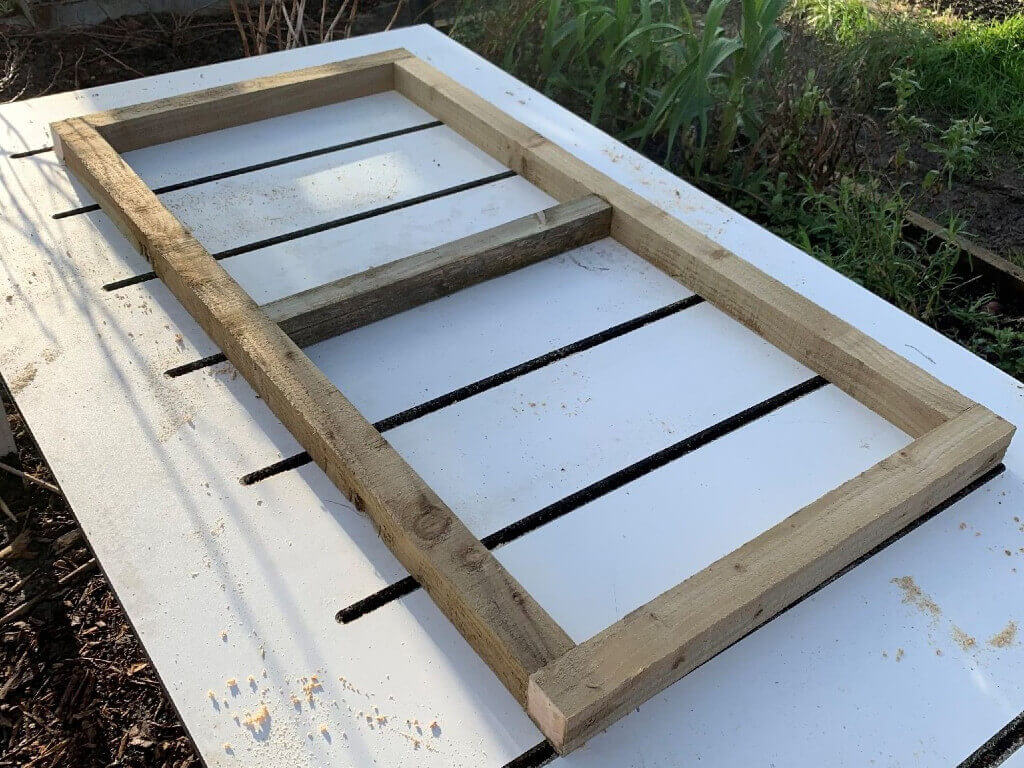
Once you’re happy your frame is square you can add a support section of wood to the middle. This should fit snuggly inside the frame and be placed in the centre. For this measure the inside on the 60cm length, it should be around 50-51cm. Once cut, screw this in from the long lengths by making a 5mm pilot hole and securing with your 60cm screws.
Step Five:
Now one frame is finished, repeat the process and make your second.
Step Six:
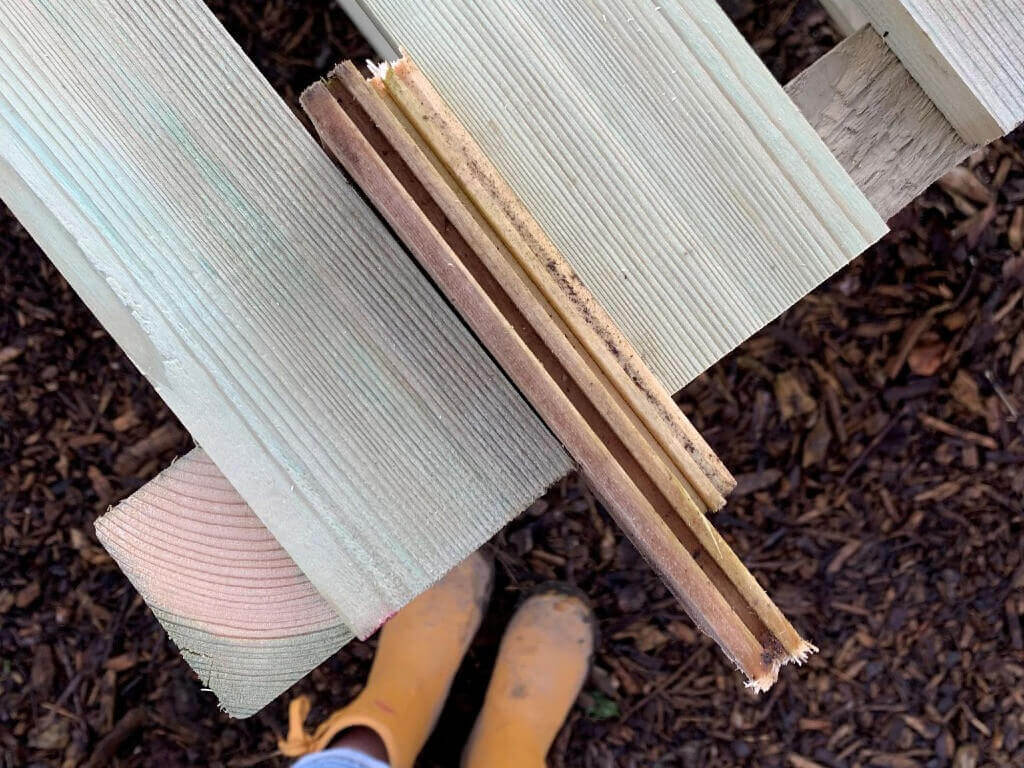
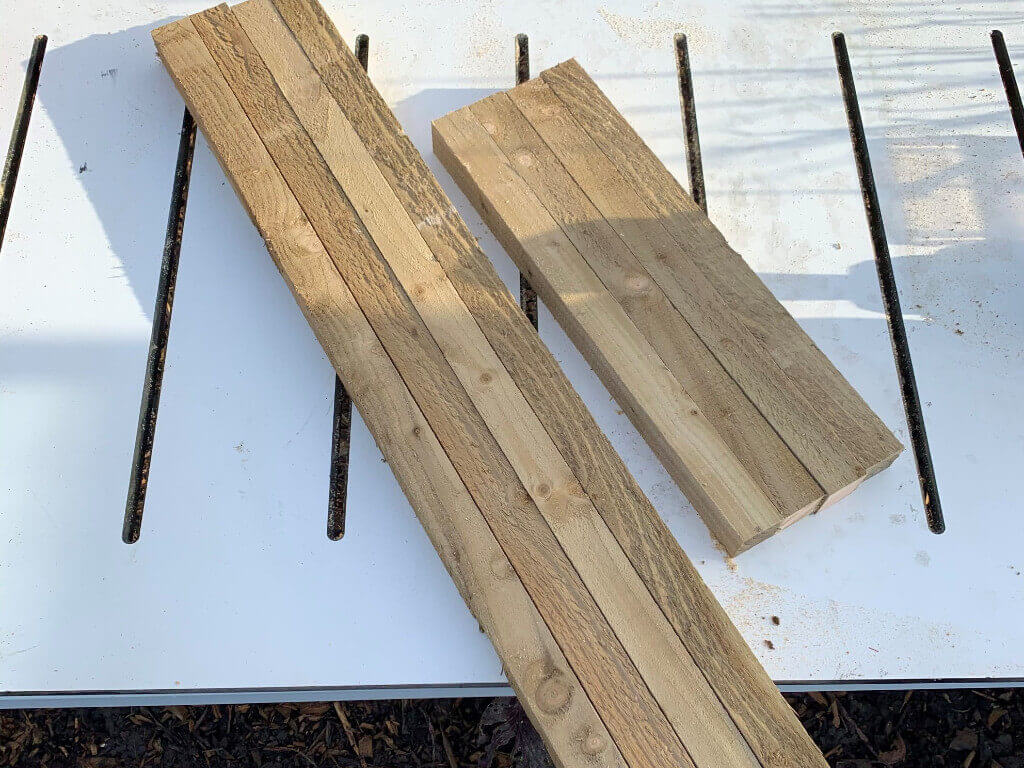
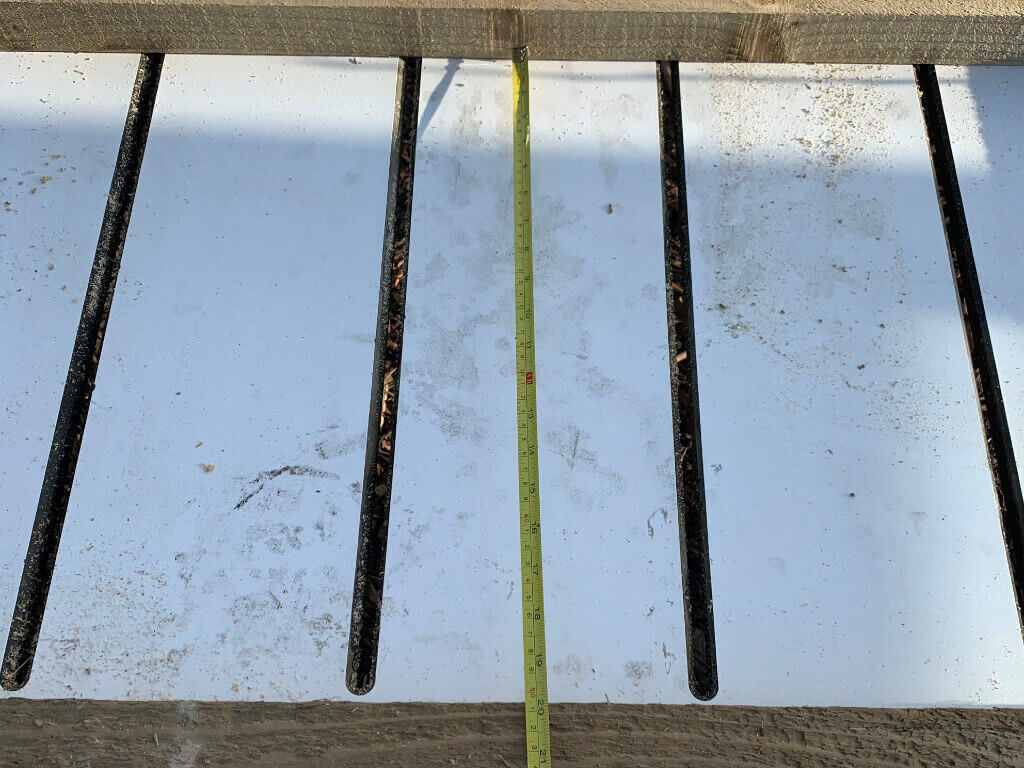
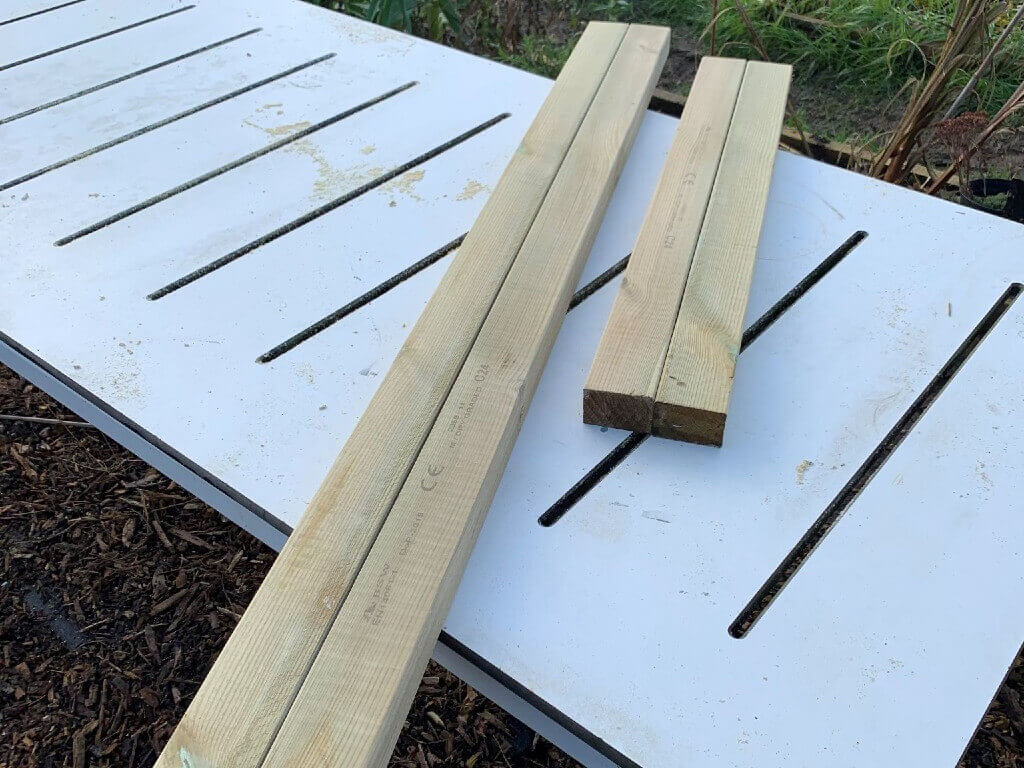
Next, we are going to add the slats to the bottom shelf. The potting table measures 1.2m and our slats are 2.4m. This makes it really simple as all you need to do is cut all of your slats in half to give you 1.2m lengths. I used my mitre saw but you can use a skill saw or hand saw.
Step Seven:
Take 4 of the slats and place them on your frame, with the top and bottom flush with the edge of the frame, with the other two being spaced evenly with a 105mm gap in between. Fix the slats in place with a 30mm screw at either end as well as the centre.
Step Eight:
Now we can cut the legs, this design can be tailored to meet your height requirements. I have made the potting bench 90cm high with 1.5m legs at the back to allow for a trellis or slatting to be added to the back. Cut your 45x95cm wood to 90 and 150cm using your mitre saw.

Step Nine:
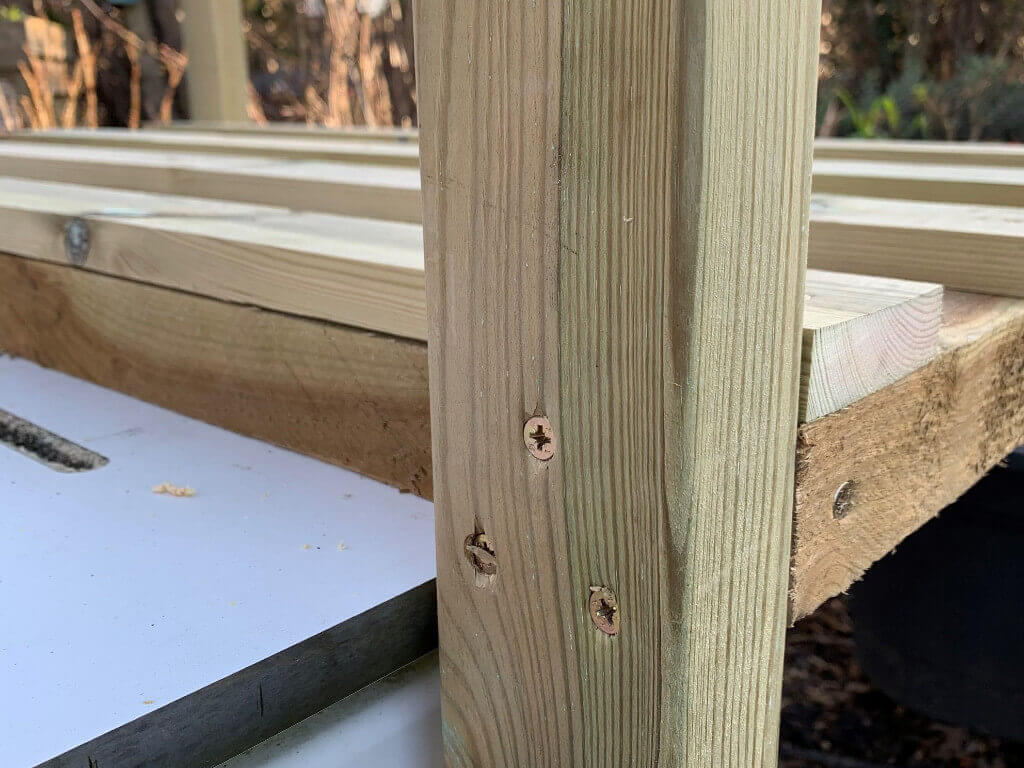
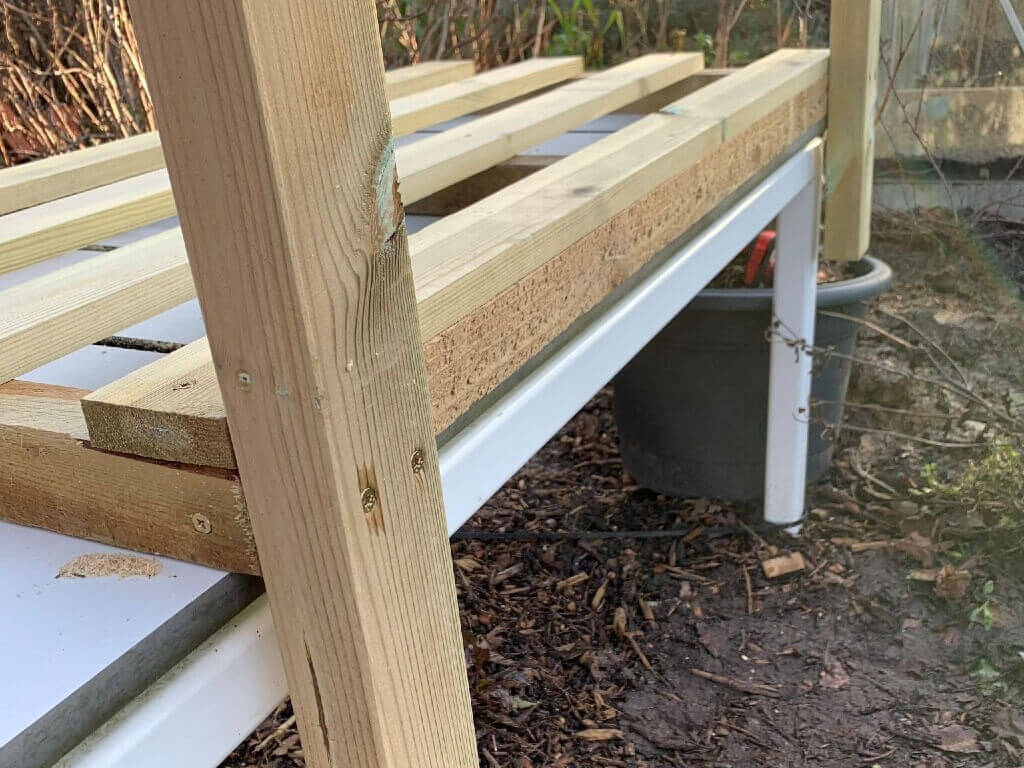
Take your legs and measure up 25cm from the bottom and mark with a pencil line. This is your guide for positioning your bottom shelf on the legs. Its easier with two people, one to hold the leg so the line is just visible at the top of the bottom shelf. When the post is flush, the second person can screw into place using a pilot hole and 60mm screw.
Step Ten:
Repeat this step so you have the two 90cm legs on one side, and the 1.5m on the other. Use 2 or 3 screws to hold each leg.
Step Eleven:
Next it is time to screw on your second frame at 90cm high. Again, get a second pair of hands to hold the frame in place while another person screws it together, this time using 3 screws. To make this easier, you can pre drill your pilot holes and put the screws in ready. Make sure you fix the frame to the 90cm legs first, then measure the distance between the bottom and top shelf and copy that measurement to the back legs so everything stays level.
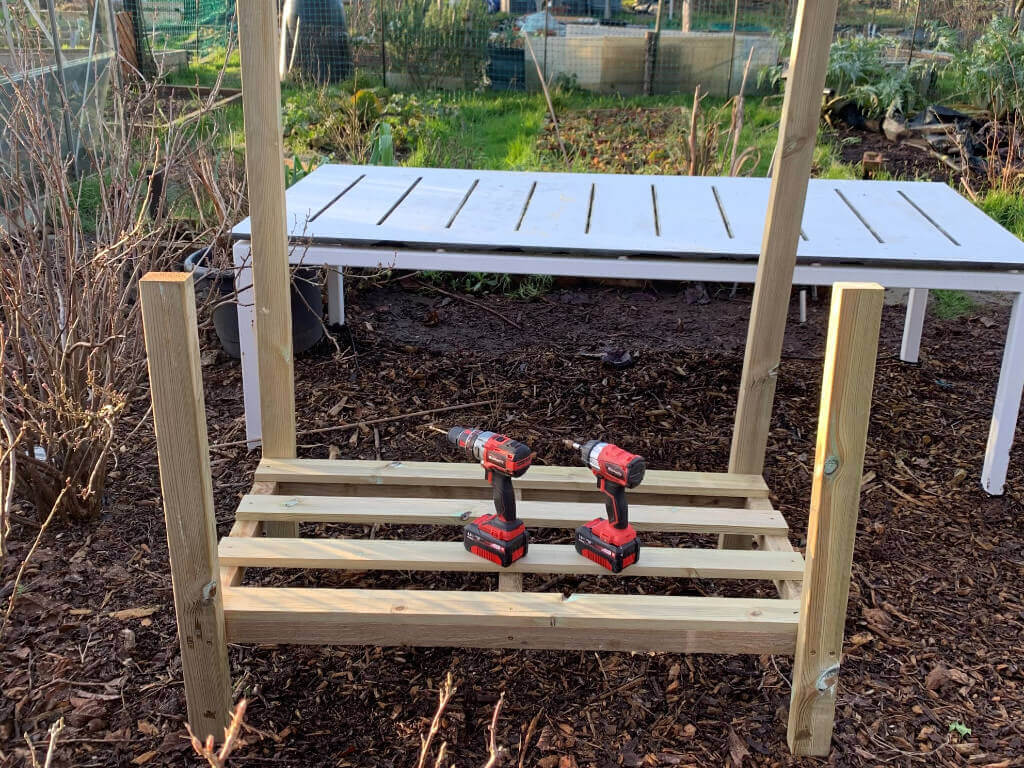

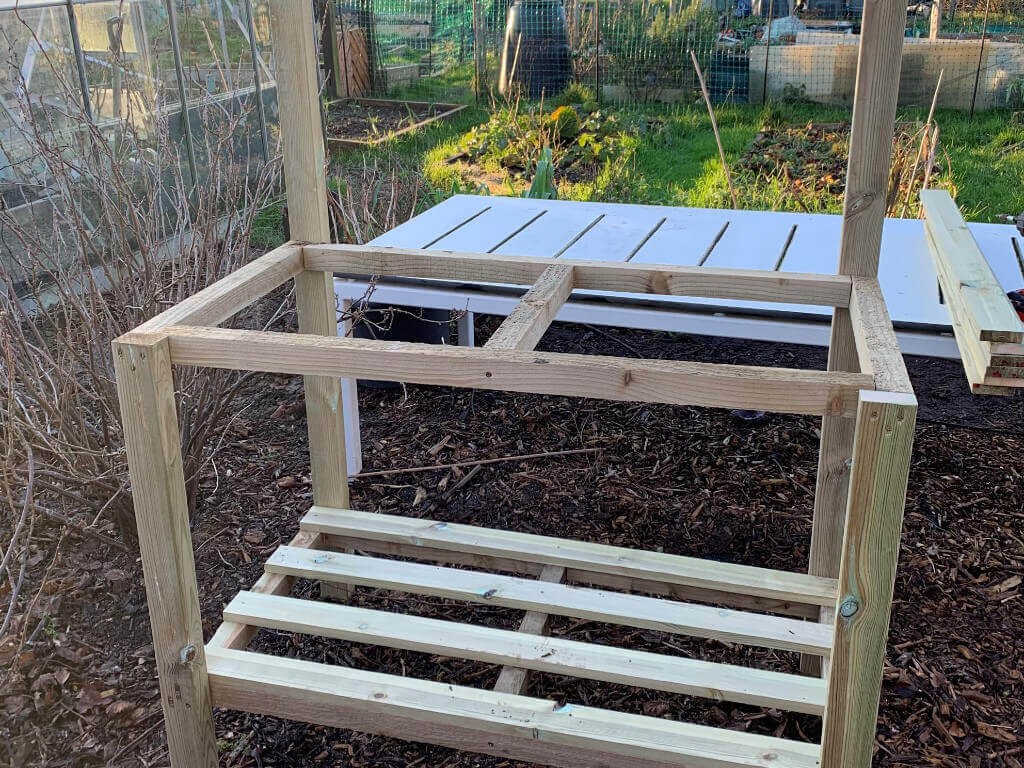
Step Twelve:
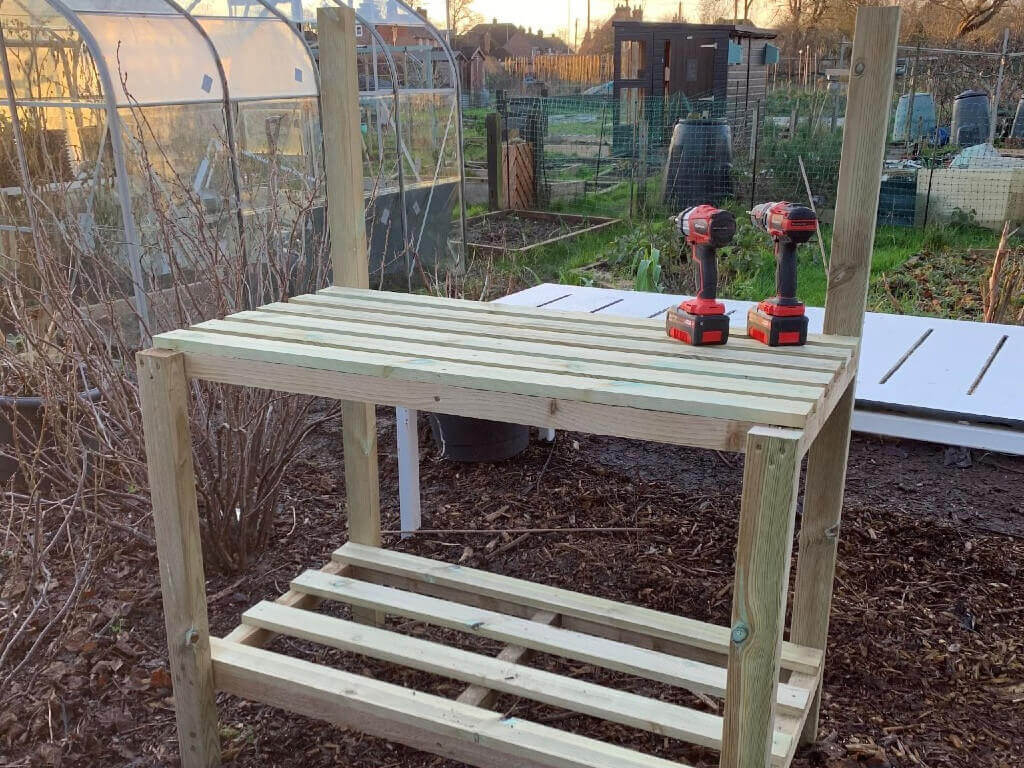
Your potting bench should be starting to take shape. The last thing you need to do is add the remaining 6 slats to the top of your table. Repeat step 7 by securing the front and back slats, then work out what distance should be in between each slat. If you have a scrap piece of wood around that is the right thickness, use this as a packer to guide your spacing.
Your potting bench is finished and can be sanded and painted however as its treated wood, it’s not necessary to paint it. Next month I will be showing you how to make some essential potting bench accessories to make your seed sowing and potting on easier.